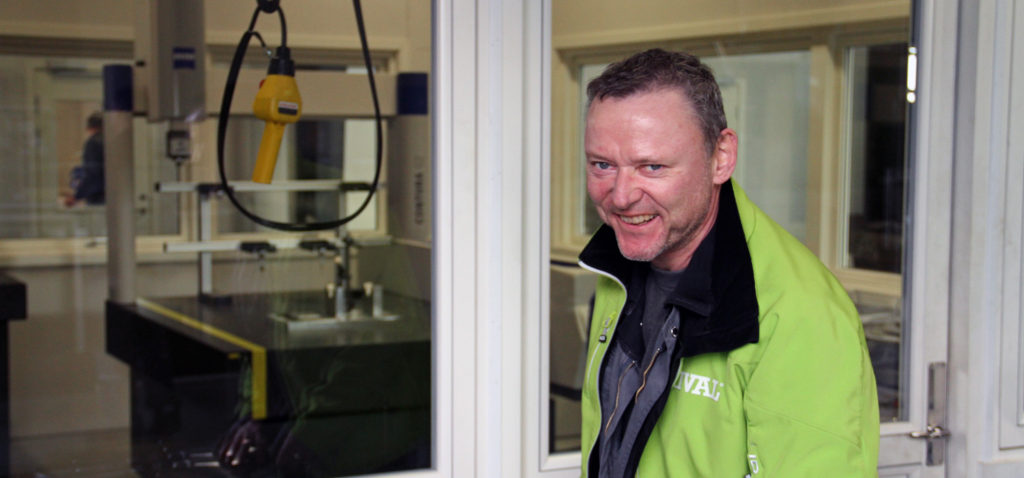
With our two 3D measurement machine we can measure up critical components. This provides the customers with documentation, which proves that we comply with the mentioned tolerances. Our Zeiss CONTURA G2 with Calypso CAD measurement software measures components to the extent of 1200x2400x800 mm with great flexibility.
Documented quality control typically saves the customers a lot of money in their own quality departments. Also, it makes it possible to deliver critical and costly components straight from RIVAL to the customers’ projects.
Machines and employees
Detailed quality plan
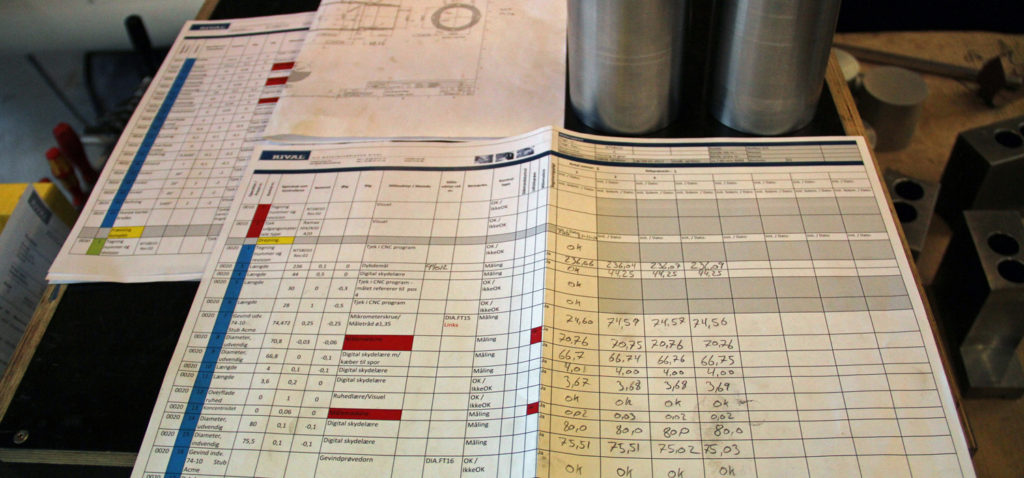
RIVAL devises quality plans to all of the components, which are processed. The detailed plans feature a concrete description of processes and measurement methods. Every process is controlled and data is registered in measurement reports. At potential error processing, our employees are ready to intervene and make the relevant adjustments.
Measurements ensure quality
Jørgen Baltzer is responsible for measuring the processed components from RIVAL’s production. “We always make sure to compare our measurements with the permitted measurements, tolerances and so on, which are stated in the devised measurement and quality reports, “ Jørgen says. “Thereby, they become important elements in the documented quality, which RIVAL offers.”


